Updated 9/16/19
The PlayBook Video Player allows your client to relive memories, view a final project, ‘walk-thru’ what could be their forever home, say “thanks” to donors or educate their staff on new processes. As a portable video player, they can watch their videos or slideshows no matter where they are without the need of internet! The good news is you can easily add photos and videos to the Playbook as well as change out videos in a few seconds.
In just 5 quick steps, we’ll show you how to add videos to the PlayBook as well as change out what videos play.
1 – Prepare Your Slideshow or Video Files
The PlayBook accepts all major video files/codec formats. This means if you want to showcase photos on the PlayBook, you’ll need to create a video file or a slideshow first. This can easily be done in a few different ways including using iMovie, an online program such as Animoto or Adobe Express (utilizing a 16:9 template), or a video editor such as Final Cut Pro X or Adobe Premiere.
“Showing our clients images is easy! We pick a few of our favorite photos, open up Final Cut Pro X, make a quick slideshow then add a licensed song of our choice from soundstripe.com.” – KiaMarie Stone | KSSPhotos.com
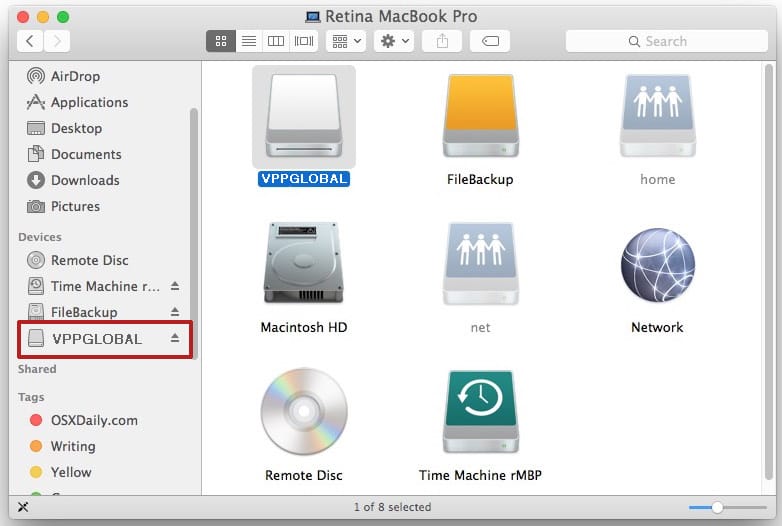
2 – Connect The PlayBook To Your Computer
The PlayBook easily connects to your computer via a standard USB to micro USB cord that is included when purchasing. The USB cord will also charge the video player for repeated use! Fully charged, your client will have 2 hours of playtime!
3 – Add Videos To The PlayBook By Dragging and Dropping
Once connected to your computer, open the folder and add videos to the Playbook by simply dragging and dropping your video files onto the drive. The PlayBook has 4GB of memory meaning there is plenty of room to load it up! Your videos will play in the order they are loaded onto the drive. If you want to remove videos, simply drag them to the trash (MAC) or right-click and navigate to “Delete” (PC).
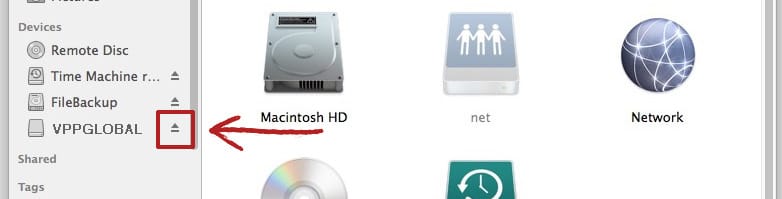
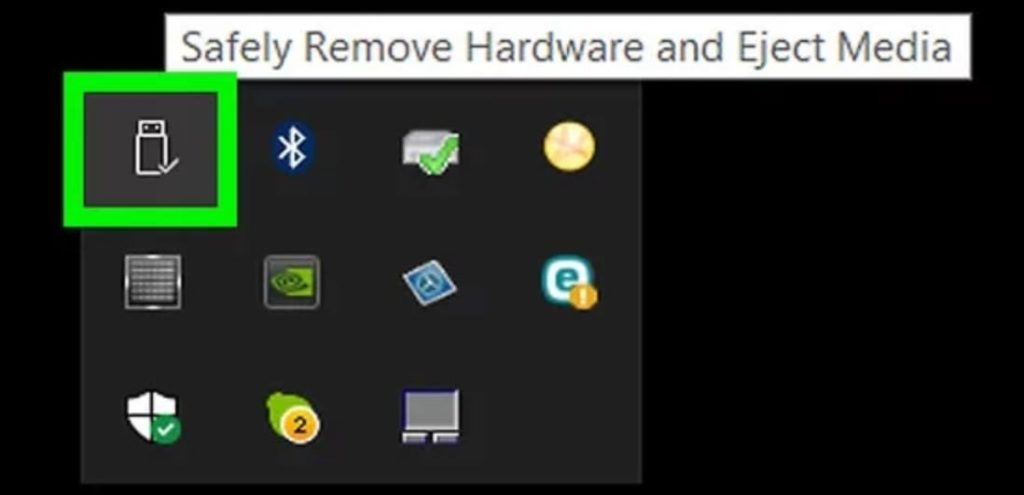
4 – “Eject” The Drive
It is important to “eject” the drive from your computer before pulling the USB cord out of the computer. This goes for hard drives, flash drives, and memory cards, too! Doing this gives the computer a chance to finalize any writing of files it may be transferring. If you pull the USB cord before you eject, there is a chance you may corrupt the files. To eject the drive, click the arrow with a line under it on a MAC or the rectangle
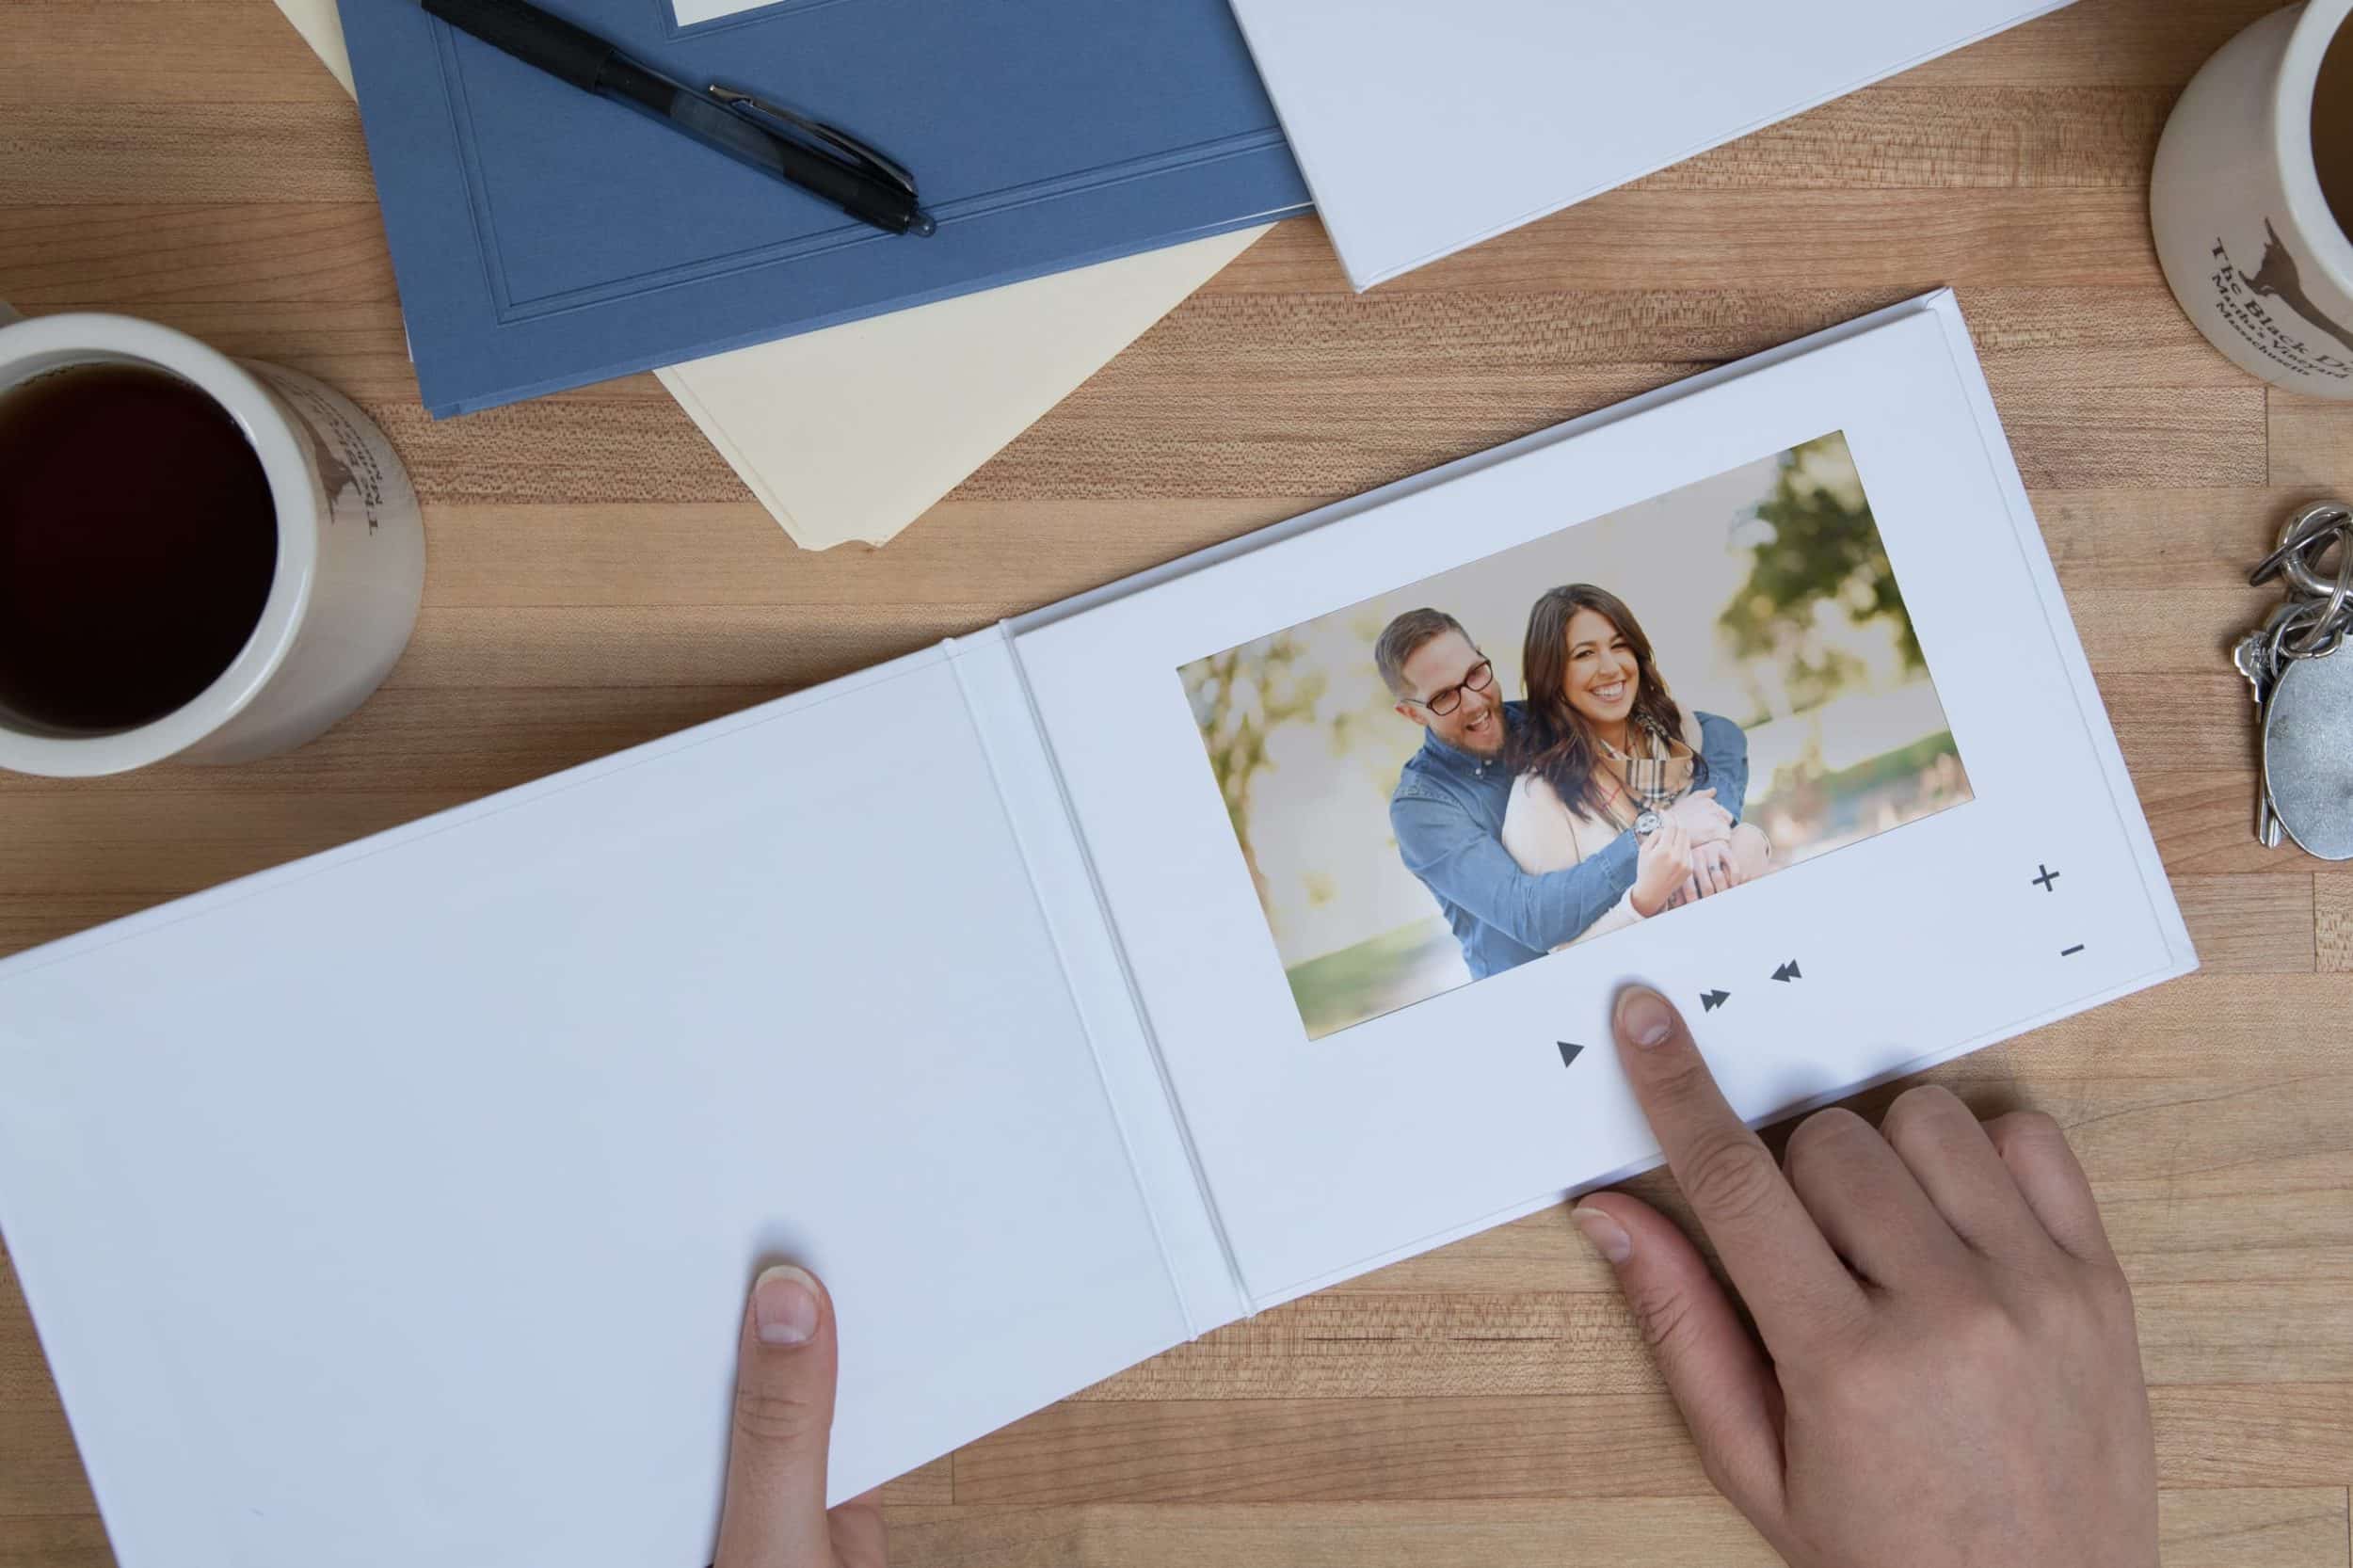
5 – Open PlayBook To View Your Videos
It’s that easy! Simply open the PlayBook and your video will start playing automatically. If you have included more than 1 video on the drive, press the ‘next’ button to advance to the next video. Press the ‘previous’ button to watch the previous file. Additionally, the second video will play automatically upon the first videos completion.
85% of people are more likely to purchase something after watching a video about it. That said, the PlayBook is your tool to success. Whether you are delivering a wedding video or same day edit, a photo slideshow, showing available homes, training your staff or welcoming new members into your community, we’re positive whomever is watching will be wow’d.